Flushing the coolant system in your BMW is an essential maintenance task that can help ensure the longevity and efficiency of your vehicle. Over time, coolant can become contaminated with rust, scale, and other debris, leading to potential overheating and damage to the engine. A thorough flush not only cleans the radiator but also improves the overall performance of the cooling system.
In this article, we will outline the essential steps to successfully flush your BMW coolant system. By following these guidelines, you can remove old coolant and contaminants, ensuring optimal function of your radiator and preventing future issues. Regular maintenance of your cooling system is crucial to avoid costly repairs and keep your BMW running smoothly.
Whether you are a DIY enthusiast or a car owner looking to learn more about your vehicle, understanding how to properly flush the coolant system can be incredibly beneficial. Let’s delve into the necessary steps and precautions to take during this process.
Gather Necessary Tools and Coolant Types

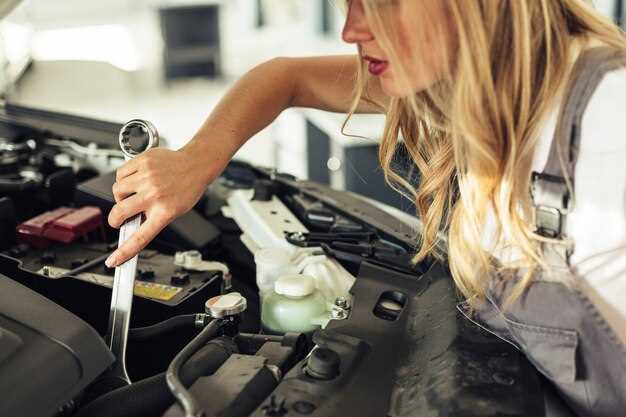
Before you begin flushing your BMW’s coolant system, it’s crucial to gather all necessary tools and choose the appropriate type of coolant. The tools you’ll need typically include a socket set, a screwdriver, a coolant flush kit, a collection container for the old coolant, and a funnel. Make sure to have someone assist you if needed, as handling coolants can be messy.
Next, focus on selecting the right coolant type for your BMW. Different models may require specific formulations, so consult your owner’s manual. Generally, BMW recommends using their branded coolant, which is specially formulated for optimal performance and protection of the radiator and other components. Look for coolants that meet the BMW specification, typically known as BMW Blue or BMW Green, as using the wrong type can lead to overheating or corrosion within the system.
Ensure that any coolant you choose is compatible with the materials in your radiator and engine, as some mixtures can cause damage over time. Lastly, always have additional distilled water on hand, as it may be necessary to dilute the coolant or flush the system effectively.
Step-by-Step Guide to Flushing the Radiator

Flushing your vehicle’s radiator is essential for maintaining a healthy cooling system. Follow these steps to effectively flush the radiator and remove old coolant and debris.
- Gather Necessary Tools and Materials
- Wrench set
- Coolant flush solution
- New coolant
- Drain pan
- Hoses
- Safety gloves and goggles
- Ensure Engine is Cool
Before starting the process, make sure the engine is completely cool to avoid burns from hot coolant.
- Locate the Radiator Drain Plug
Find the drain plug located at the bottom of the radiator. This plug is typically a small valve or screw which you will use to drain the old coolant.
- Drain Old Coolant
Place your drain pan under the radiator. Carefully unscrew the drain plug to let the old coolant flow into the pan. Allow all the coolant to drain completely.
- Flush the Radiator
Once the old coolant is drained, close the drain plug. Pour coolant flush solution into the radiator through the fill neck. Fill it up with water to the recommended level.
- Run the Engine
Start your engine and let it idle for about 10-15 minutes. This allows the flush solution to circulate through the system and break down any buildup or debris within the radiator.
- Drain the Flush Solution
After the engine has run, turn it off and let it cool down again. Repeat the previous draining step to remove the flush solution from the radiator.
- Rinse with Water
To ensure thorough cleaning, you may want to perform another flush with clean water. Fill the radiator with water, run the engine for a few minutes, then drain again.
- Fill with New Coolant
After draining the last water, close the drain plug. Now, refill the radiator with appropriate new coolant, ensuring you mix it if necessary according to manufacturer instructions.
- Check for Leaks
Start the engine and inspect the radiator and connections for any leaks. Monitor the temperature gauge to ensure the system is functioning properly.
Following these steps will help you effectively flush your radiator and maintain an efficient cooling system in your vehicle.
Properly Dispose of Old Coolant and Refill System
When performing maintenance on your BMW’s cooling system, it’s crucial to handle old coolant properly to ensure both safety and environmental responsibility. Engine coolant contains harmful substances that can be detrimental to health and the ecosystem if not disposed of correctly.
First, collect the old coolant from the radiator in a clean, leak-proof container. Avoid mixing it with other fluids, as this can complicate disposal processes. Be sure to wear gloves and protective eyewear while handling the coolant to prevent any direct contact with your skin or eyes.
Next, take the collected coolant to a local hazardous waste disposal facility. Many communities offer drop-off services for automotive fluids and can recycle the coolant effectively. If a facility is not available nearby, check with your local BMW dealership, as they may have recommendations for safe disposal options.
After ensuring that the old coolant is disposed of properly, it’s time to refill the system with fresh coolant. Consult your BMW’s owner manual for specifications on the recommended type of coolant suitable for your model. Using the correct mixture of water and coolant is essential for maintaining the effective operation of your radiator and preventing overheating.
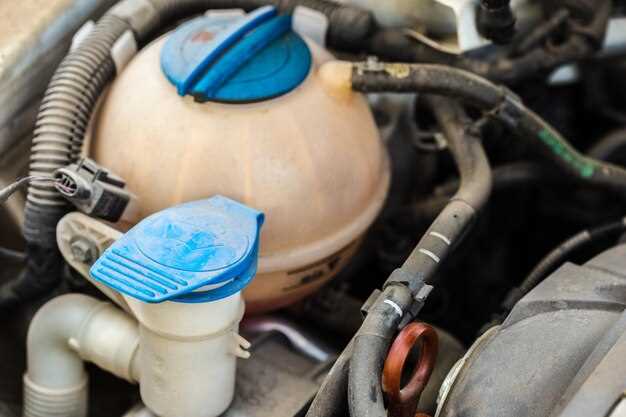
To refill the system, locate the coolant reservoir and carefully pour in the new mixture. Be cautious not to overfill. After refilling, start the engine and let it run for a few minutes while keeping an eye on the temperature gauge. This will allow the new coolant to circulate through the system, ensuring effective cooling and preventing any trapped air pockets.
